The world has changed in many ways over the last two years, one of which is how we work. With so many people working remotely, the traditional office space is becoming a thing of the past. Many photographers rely on sets and studios to create their work. Without access to these spaces, they’ve been forced to get creative. If you’re a photographer used to working in a studio but now find yourself having to shoot at home, don’t fret! There are plenty of ways to set up a home photography studio. With a bit of ingenuity and some basic resources, you can create a space perfect for your needs.
Required Equipment For a Home Photography Studio
It takes money to make money, and that’s especially true when it comes to photography. If you want to set up a studio in your home, you need to be prepared to invest in a professional setup. The good news is that you don’t need to break the bank to get started. Here’s a list of essential equipment you’ll need for your home photography studio.
Cameras
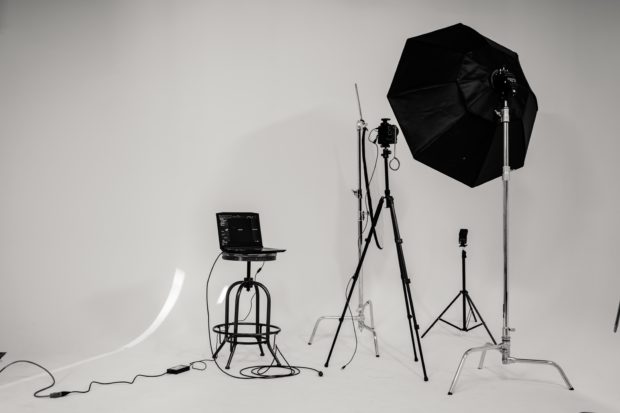
Of course, a camera is the most crucial equipment for any photographer. If you don’t have a DSLR camera, now is the time to invest in one. Digital Single-Lens Reflex cameras are the gold standard for photography, and they’ll give you the highest quality images. Indeed, they have large sensors that allow for more light and detail. They also offer interchangeable lenses, giving you more control over your photos.
If you’re just starting out, you may not want to invest in the most expensive DSLR just yet. There are plenty of great entry-level cameras that will do the job just fine. We’ll go over these in more detail later.
In addition to a DSLR, you’ll also need a few other camera accessories. Make sure you have plenty of storage space for your photos with a high-quality memory card. You might also want a remote shutter release to let you take photos without touching your camera.
Tripods
Most DSLR cameras are relatively large and heavy, making them difficult to hold steady for long periods. A good tripod will stabilize your camera and allow you to take clear, sharp photos, even if your hands are shaking.
When choosing a tripod, look for one made of sturdy materials like aluminum or carbon fiber. These tripods are slightly more expensive, but they’re worth the investment. You should also ensure the tripod you choose is compatible with your camera. Look at the size and weight of your camera and find a tripod that can support it.
Light Box
Home photography has the drawback of limited space. This can make it challenging to get the lighting just right, as you might not have enough room or windows to achieve perfect lighting. A light box is an excellent solution to this problem.
A light box is basically a small tent that you can put your subject inside of. The sides and top of the light box are made of a translucent material, which diffuses the light and creates soft, even lighting. This is perfect for taking product photos or close-ups.
You can buy a light box online or make your own with some basic supplies from the hardware store. The size of your light box will depend on the type of photos you want to take, so it would be best to determine this before you start shopping around. If you’re feeling crafty, there are plenty of DIY tutorials online.
Reflectors
Reflectors are a must-have for any photographer, whether shooting in a studio or outdoors. They’re simple to use and can make a big difference in your photos. Similar to a lightbox, reflectors diffuse and bounce light around your subject. This creates more flattering light and can help to fill in any shadows.
Reflectors usually come in one of four colors: white, silver, gold, or black. Each color has a different effect on your photos. White and silver reflectors will create a cool tone, while gold and black will add warmth. Experiment with each color to see which one you prefer. You can even use multiple reflectors simultaneously to get the perfect light.
Lenses
As we mentioned earlier, one of the great things about DSLR cameras is that they have interchangeable lenses. You can swap out the lens that came with your camera for a different one, depending on the type of photo you want to take.
Each lense will give you a different effect. For example, if you’re shooting portraits, you might want to use a lens with a large aperture. It will give you a shallow depth of field, which means the background of your photo will be blurred, resulting in your subject standing out.
Backdrops
Next, you’ll need to choose a backdrop. This is the background behind your subject in your photos. Seamless paper is a good choice, and it comes in many colors and patterns, so you can get creative with your backgrounds. Just make sure the color you choose doesn’t clash with your subject’s clothing.
If you don’t have a lot of space or want to change your background quickly, you can also use a collapsible backdrop. These are made of fabric and can be easily folded up and stored away when you’re not using them.
Laptop
Finally, you’ll need a laptop or computer to edit your photos. Here’s where you’ll connect your camera and download your pictures. Once they’re on your computer, you can use photo-editing software to make any necessary adjustments. We recommend using Adobe Photoshop or Lightroom.
What Projects Can Be Done In a Home Photography Studio?
Understandably, home studios are usually smaller in scale than dedicated commercial studios or the great outdoors. They also don’t have all the professional amenities that come with a larger space. However, this doesn’t mean home studios can’t be just as versatile and productive. In fact, you can use your home studio to shoot a wide variety of photography projects, including:
Portraits
Portraits are great for home setups because they don’t require a lot of space. You can shoot headshots with a single light and reflector, making it easy to set up and take down your studio when you’re done.
If you’re shooting portraits of family or friends, they’ll likely be more comfortable in a home setting than in a traditional studio. This vibe will help them relax and feel more natural in front of the camera.
Product Photography
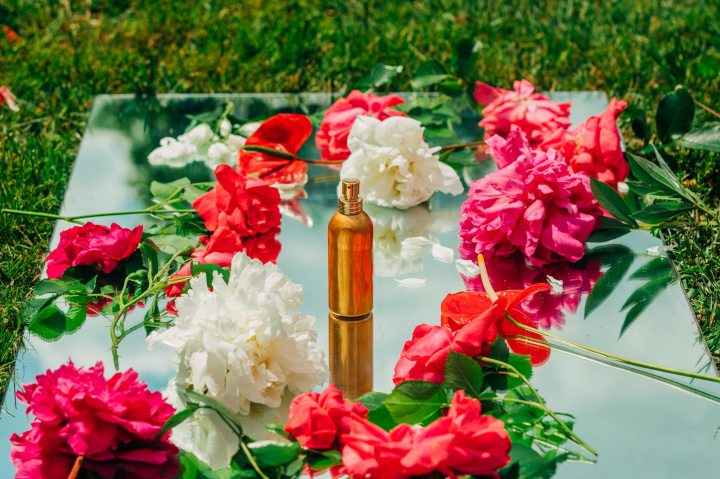
If you’re a product photographer, a home studio can be a great place to shoot your photos. You can control the lighting and environment, ensuring that your products are photographed in the best possible light.
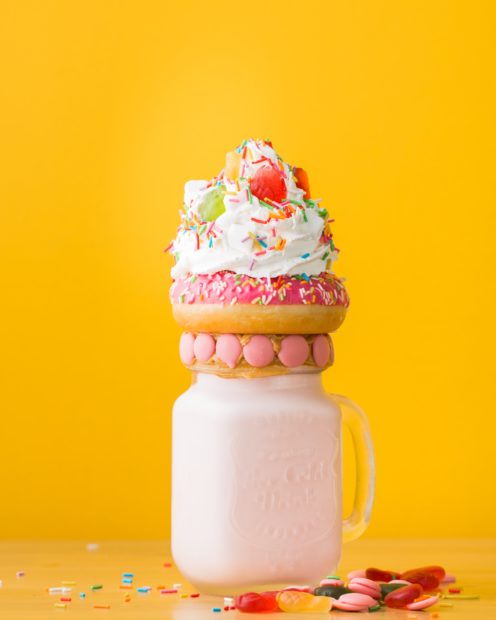
You can create a seamless white background for your product photos with a lightbox on a table. It will make your products pop and help them stand out from the crowd. However, you might need to stick to smaller items if your space is limited.
Self-Tapes
Calling all actors! A home studio is an excellent place to shoot self-tapes. Whether you’re auditioning for a TV show or a commercial, you can create a space that’s conducive to filming. You might also want to buy some sound-absorbing materials, like foam panels, to reduce background noise.
Self-taping can be a great way to get comfortable in front of the camera. By setting up your own studio, you can take as much time as you need to get the perfect shot, removing the pressure of paying for studio time.
Castings
Castings are usually quick and easy to set up. Models simply need to change into their outfits and strike a few poses. From fashion to beauty to commercial castings, a home studio can work for various projects.
Props and accessories can also be a great way to add interest to your photos.
Cost of a Home Photography Studio
So, how much will you need to spend to set up your home studio? The answer, of course, depends on the type of photography you want to do. If you’re primarily shooting portraits, for example, you won’t need as much gear as someone who wants to do video shoots. Let’s break down the most frugal way to set up a home studio.
Camera
You don’t need a fancy DSLR to start freelance photography. In fact, you can get by just fine with a basic point-and-shoot camera. The Canon EOS Rebel T100 / 4000D starts at $450 and is a great entry-level DSLR. You can get a used camera for less if you want to save even more money.
Lens
The kit lens that comes with your camera will likely suffice for most of your needs. However, if you want to get a closer shot or shoot in low light, you might want to invest in a better lens. A 50mm f/1.8 lens is a great option, and it will only set you back around $125.
Lighting
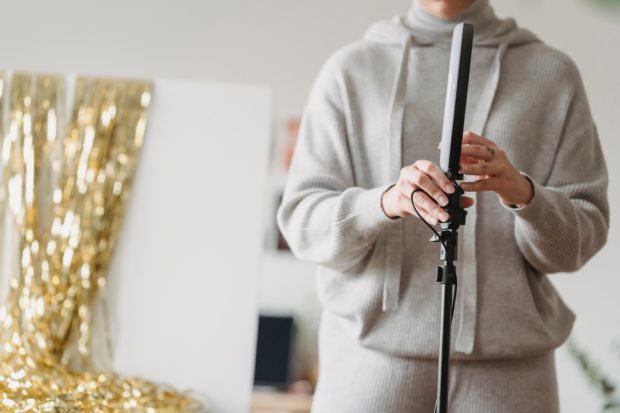
Lighting is vital in photography, but you don’t need to spend a lot of money to get started. A basic ring light can be bought for less than $30, and it will do a great job of illuminating your subject. As for your backdrop and reflectors, you can find both used and new options for under $50.
Other Gear
In addition to the basics, there are a few other pieces of equipment that you might want to invest in. A tripod will help you keep your camera steady, and you can have it for around $30. A remote shutter release will also come in handy; you can find it for less than $20. Finally, a memory card is essential for storing photos; you can get one for under $20.
A little research can easily result in a fully-functional home studio for $500-$600. And with the right freelancing strategy, you can make that back in your first month of shooting. So get out there and start snapping!
For more information about the expansive field of freelance photography, check out our master classes at CreativeLive.
