Dodging and burning is a photo editing and retouching technique as old as the darkroom itself, but bring the process of lightening and darkening small, specific portions into the digital realm and a traditional tool becomes a modern retouching power tool.
From lightening under eye shadows to reducing the intensity of a wrinkle, dodging and burning can produce dramatic before and after results by adjusting light and dark areas without affecting texture. But, simply grabbing the dodge or burn tool from Photoshop’s toolbox and brushing over the image is a destructive photo editing practice — you can’t go back and adjust without ruining everything you’ve changed since.
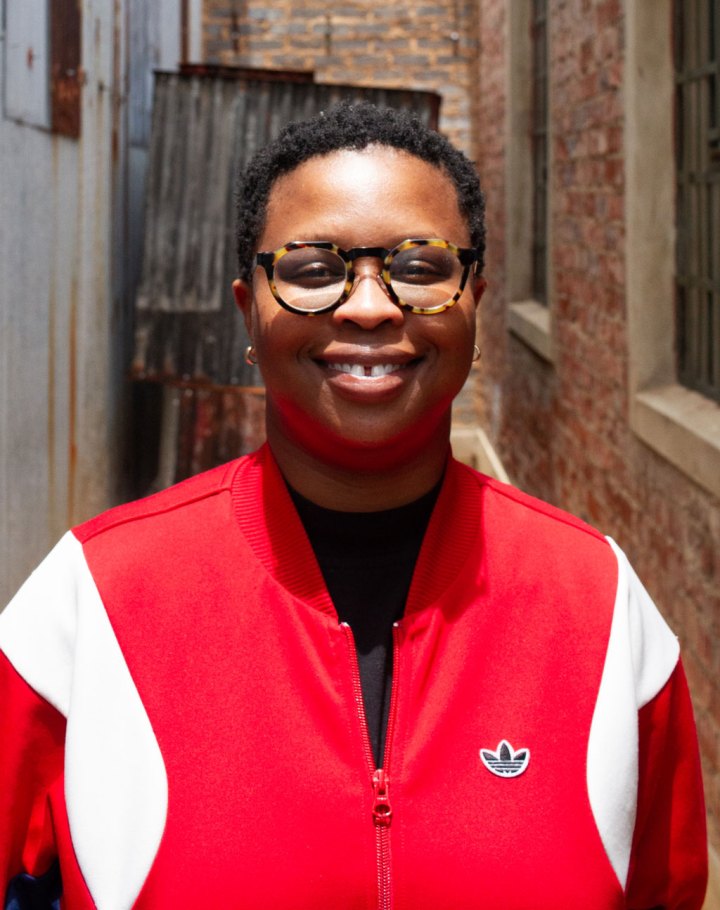
Using a few tricks, however, you can turn dodging and burning into a non-destructive edit. Pratik Naik, a high-end retoucher and mentor with over a decade of experience, shares how a few adjustment layers turns dodging and burning into a simple, yet non-destructive technique.
Final days to enjoy 60% off Photoshop Week 2019. Learn how to produce professional quality photos and reach your full creative potential. Learn More.

Step 1: Create the dodge layer.
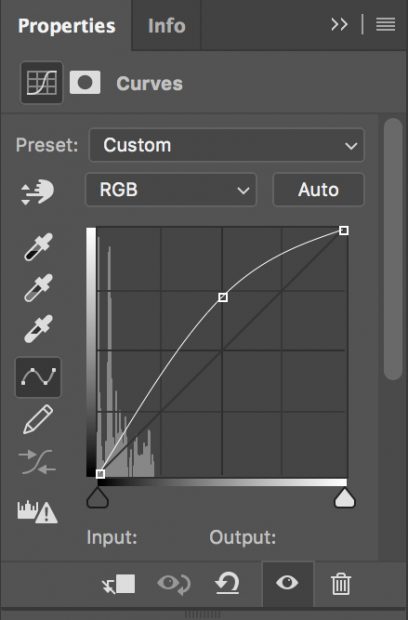
Start by creating a curves adjustment layer — inside the layer panel, click the circle that’s half filled, half empty and select curves from the dropdown menu. Next, lighten that layer by adjusting the curves inside the properties panel. Click the middle of the curve line and bring it up to the next line in the grid. Now, click on the layer mask (the white box next to the layer’s name) and hit command or control and i to fill the mask in with black — you should see the effects from the curves adjustment disappear. To avoid confusion, rename that layer dodge.
Step 2: Create the burn layer.
Repeat the entire process from the first step, only instead of drawing that curve up, pull the curves down from the middle to about one graph line lower. Don’t forget to fill in with the black mask (command or control i) and rename the layer to burn. You can also organize the adjustment layers with a folder.
Step 3: Create a black and white adjustment layer.
This step has nothing to do with whether or not your final image will be in color or monochrome, but everything to do with accurately — and simply — dodging and burning. On a color image, it’s tougher to see which areas are lighter and darker than the other. By discarding those colors, it’s easier to see which areas to retouch. Add a black and white adjustment layer by selecting the same icon you used for the curves layers, only picking black and white from the drop-down menu.
Step 4: Start dodging.
Click back on your dodge layer and select a white paintbrush. Adjust the flow of the brush down to one percent from the top toolbar — this allows you to make natural changes quickly. Next, paint over any areas you would like to lighten, adjusting the brush size to match the size of the dark patch. (Along with adjusting the size of the brush in the top toolbar, you can also use the keyboard shortcuts, the left and right bracket keys, to make the photo editing brush smaller or larger, respectively).
So what areas should you dodge? Dodging will lighten areas without affecting texture. In a portrait, several common areas are easily fixed with dodging, such as:
- Shadows under the eyes and around the nose and mouth
- Patchy patterns on the neck and chest
- Lightening shadows and lines to make them less obvious without eliminating them completely
- Correcting or enhancing make-up
- Adding contours
Pay attention to the largest, most noticeable areas. If you enjoy the process, you can zoom in past 100 percent to correct smaller imperfections, but those adjustments are typically dealt with quicker using the frequency separation technique, which Pratik Naik also discusses in his high-end retouching class. If you make an error, just switch to a black brush and paint back over the area.
Final days to enjoy 60% off Photoshop Week 2019. Learn how to produce professional quality photos and reach your full creative potential. Learn More.

Step 5: Start burning.
Using the same methods but within the burn layer, start painting over any light areas that should be darker. On a portrait, retouchers often don’t need the burn tool as much as the dodge, but use this layer to:
- Even out light to dark transitions
- Enhance makeup
- Darken sparse eyebrows
The burn tool isn’t a good option for correcting hotspots — or very light sections of skin created by a reflection of the lights — those corrections are best left for the frequency separation technique.
Step 6: Finalize Photo Editing.
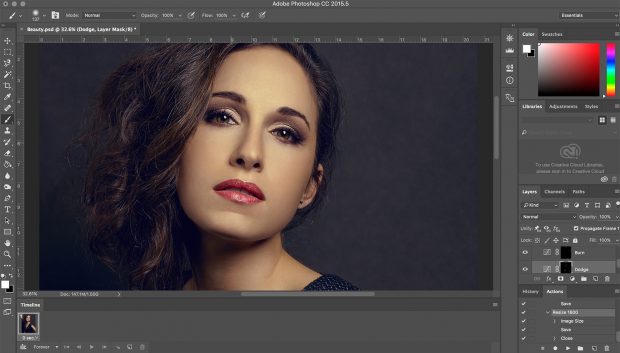
Once you’re happy that you’ve lightened and darkened the problem areas in the image, go ahead and delete the black and white layer — once you’re finished, you don’t need that as a learning tool anymore. If you think you may go back and do more dodging and burning later, just hit the eye icon next to the layer to make it invisible for now.
Occasionally, this method of dodging and burning can create odd color shifts, particularly if you adjusted any red areas. If your color image doesn’t look quite right, change the blend mode on both the dodge and burn layers to luminosity (click the drop down in the layers panel that says “normal”).
By splitting the dodge and burn tools into separate adjustment layers, the traditional technique becomes a non-destructive edit that can be adjusted later, no matter how many changes you’ve made in between. Using non-destructive techniques can save you hours of frustration later — and can be just as effective as those doge and burn options in the toolbox.
Looking for other post processing tips to round out your arsenal? Check out our Complete Guide to Post Processing.
Final days to enjoy 60% off Photoshop Week 2019. Learn how to produce professional quality photos and reach your full creative potential. Learn More.
